根据 Slint 提供的 memory 示例程序学习 Slint GUI 编程。
Hello World
安装 cargo 模板生成器
1 cargo install cargo-generate
基于模板生成项目
1
2
cargo generate --git https://github.com/slint-ui/slint-rust-template --name memory cd memory
下载应用所需的资源文件
1
2
curl -O https://slint.dev/blog/memory-game-tutorial/icons.zip unzip icons.zip
编写最简 Slint 应用代码
1
2
3
4
5
6
7
8
9
10
11
12
fn main () { MainWindow::new ().unwrap ().run ().unwrap (); } slint::slint! { export component MainWindow inherits Window { Text { text: "hello world" ; color: green; } } }
Memory 应用构建 在 Rust 中使用 Slint 时,slint::slint! 宏内部描述界面。它可独立于 Rust 代码,在 Preview 设计工具中预览,并执行其中编写的简单逻辑,易于调试。
其中单个块的描述结构如下:
1
2
3
4
5
6
7
8
9
10
11
12
13
14
15
16
17
18
19
20
21
22
23
24
25
26
27
28
29
30
31
32
33
34
35
36
37
38
39
40
41
42
43
44
45
46
47
48
49
50
51
52
53
54
55
56
57
58
59
60
61
62
63
64
65
66
67
68
69
70
71
72
73
74
75
component MemoryTile inherits Rectangle { callback clicked; in property <bool> open_curtain; in property <bool> solved; in property <image> icon; width: 64px; height: 64px; border-radius: 5px; background: solved ? #34CE57 : #3960D5; animate background { duration: 800ms; } Image { source: icon; width: parent.width; height: parent.height; } // Left curtain Rectangle { background: #193076; x: 0px; width: open_curtain ? 0px : (parent.width / 2); height: parent.height; border-radius: 5px; clip: true; animate width { duration: 250ms; easing: ease-in; } Image { source: @image-url("icons/tile_logo.png"); width: root.width - 32px; height: root.height - 32px; x: 16px; y: 16px; } } // Right curtain right-curtain := Rectangle { background: #193076; x: open_curtain ? parent.width : (parent.width / 2); width: open_curtain ? 0px : (parent.width / 2); height: parent.height; border-radius: 5px; clip: true; animate width { duration: 250ms; easing: ease-in; } animate x { duration: 250ms; easing: ease-in; } Image { source: @image-url("icons/tile_logo.png"); width: root.width - 32px; height: root.height - 32px; x: right-curtain.width - self.width - 16px; y: 16px; } } TouchArea { clicked => { // Delegate to the user of this element root.clicked(); } } }
其中,使用 callback 为组件提供了回调点,在构建应用时,可以在 Rust 代码中给出回调中需要执行的代码。in property 则提供了可以从 Rust 代码中传入的属性信息,界面中的状态可以基于这些属性进行调整,以此实现代码对界面的控制。animate 则指定了属性变化的一些特征,从而形成动画效果。例如背景属性设置 animate 后,背景属性变化时就不会直接跳变到新的值,而是根据 animate 设定逐渐变化。内部的两个 Rectangle 则用于构建元素状态切换时的动画和遮蔽效果,其中使用 clip 结合内嵌的 Image 元素勾造了拉开效果。TouchArea 提供了交互能力,实现了点击后调用提供的回调的能力。
整个页面的描述代码如下:
1
2
3
4
5
6
7
8
9
10
11
12
13
14
15
16
17
18
19
20
21
22
23
24
25
26
27
28
29
30
31
32
33
34
35
export component MainWindow inherits Window { width: 326px; height: 326px; callback check_if_pair_solved(); in property <bool> disable_tiles; in-out property <[TileData]> memory_tiles: [ { image: @image-url("icons/at.png") }, { image: @image-url("icons/balance-scale.png") }, { image: @image-url("icons/bicycle.png") }, { image: @image-url("icons/bus.png") }, { image: @image-url("icons/cloud.png") }, { image: @image-url("icons/cogs.png") }, { image: @image-url("icons/motorcycle.png") }, { image: @image-url("icons/video.png") }, ]; for tile[i] in memory_tiles : MemoryTile { x: mod(i, 4) * 74px + 18px; y: floor(i / 4) * 74px + 18px; width: 64px; height: 64px; icon: tile.image; open_curtain: tile.image_visible || tile.solved; // propagate the solved status from the model to the title solved: tile.solved; clicked => { if !root.disable_tiles { tile.image_visible = !tile.image_visible; root.check_if_pair_solved(); } } } }
同样地,主界面提供了回调函数给代码插入自己的逻辑。此外,这里还使用了 in-out property 提供在 Rust 代码中既能读又能写的数据,从而实现对页面的声明式控制。其中使用前面构造的 MemoryTile 组件并提供了 click 回调函数的内容,对这个组件的预览可以观察到点击后动画变化的效果。提供的回调中,又调用了这一组件自身提供的回调点。这里使用 for 语法实现了根据数据动态更新组件数量的能力。
Rust 语言编写的游戏逻辑部分则如下所示:
1
2
3
4
5
6
7
8
9
10
11
12
13
14
15
16
17
18
19
20
21
22
23
24
25
26
27
28
29
30
31
32
33
34
35
36
37
38
39
40
41
42
43
44
45
46
47
48
49
fn main () { use slint::Model; let main_window = MainWindow::new ().unwrap (); let mut tiles : Vec <TileData> = main_window.get_memory_tiles ().iter ().collect (); tiles.extend (tiles.clone ()); use rand::seq::SliceRandom; let mut rng = rand::thread_rng (); tiles.shuffle (&mut rng); let tiles_model = std::rc::Rc::new (slint::VecModel::from (tiles)); main_window.set_memory_tiles (tiles_model.clone ().into ()); let main_window_weak = main_window.as_weak (); main_window.on_check_if_pair_solved (move || { let mut flipped_tiles = tiles_model.iter ().enumerate ().filter (|(_, tile)| tile.image_visible && !tile.solved); if let (Some ((t1_idx, mut t1)), Some ((t2_idx, mut t2))) = (flipped_tiles.next (), flipped_tiles.next ()) { let is_pair_solved = t1 == t2; if is_pair_solved { t1.solved = true ; tiles_model.set_row_data (t1_idx, t1); t2.solved = true ; tiles_model.set_row_data (t2_idx, t2); } else { let main_window = main_window_weak.unwrap (); main_window.set_disable_tiles (true ); let tiles_model = tiles_model.clone (); slint::Timer::single_shot (std::time::Duration::from_secs (1 ), move || { main_window.set_disable_tiles (false ); t1.image_visible = false ; tiles_model.set_row_data (t1_idx, t1); t2.image_visible = false ; tiles_model.set_row_data (t2_idx, t2); }); } } }); main_window.run ().unwrap (); }
其根据状态不断调整数据,并对页面行为产生不同的影响。
打包为 Web 应用
安装 wasm-pack 工具
1
2
3
cargo install wasm-pack cargo install wasm-bindgen-cli cargo install simple-http-servver
编辑 Cargo.toml 添加依赖并配置为库类型
1
2
3
4
5
6
[target.'cfg(target_arch = "wasm32")'.dependencies] wasm-bindgen = { version = "0.2" }getrandom = { version = "0.2.2" , features = ["js" ] }[lib] path = "src/main.rs" crate-type = ["cdylib" ]
main.rs 添加入口点
1
2
3
4
5
#[cfg_attr(target_arch = "wasm32" , wasm_bindgen::prelude::wasm_bindgen(start))] pub fn main () { }
执行打包
1 wasm-pack build --release --target web
创建加载 WebAssembly 库并作为起点的 index.html 文件
1 2 3 4 5 6 7 8 9 10 11 <html > <body > <canvas id ="canvas" > </canvas > <script type ="module" > import init from "./pkg/memory.js" ; init (); </script > </body > </html >
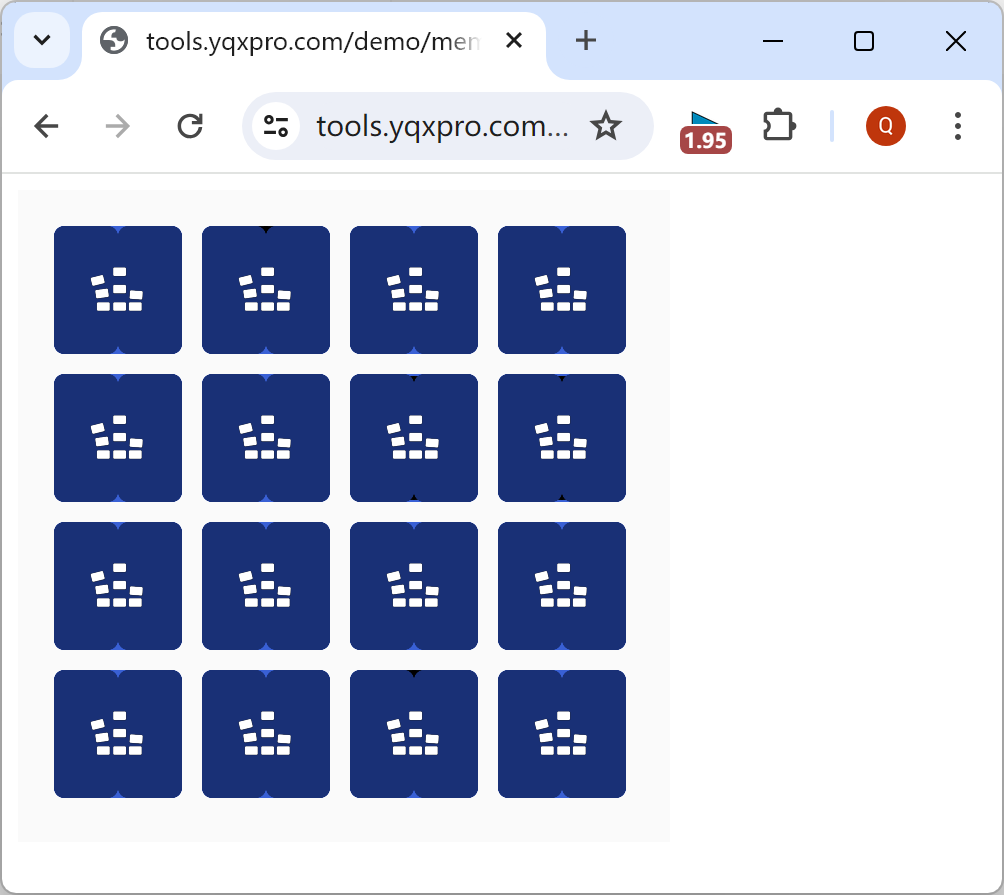
启动 HTTP 服务器托管打包文件并访问 localhost:8000 端口从网页打开应用程序。
打包后的代码托管到 HTTP 服务上即可在线使用。这里的实现托管在 https://tools.yqxpro.com/demo/memory/ 上。
参考资料